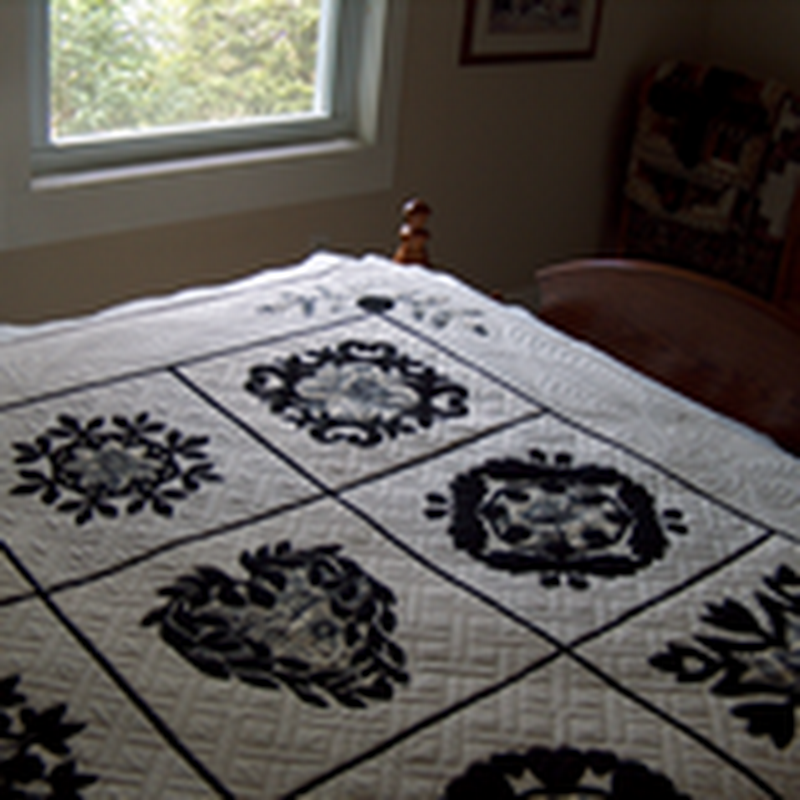
I call the pattern Squared Away. There are many variations on this design out there, but this is my easy, no-pattern-necessary way. You can make the blocks any size you want and if you want a larger quilt, just add another row or column. The quilt pictured above begins with 5.5 inch squares, but if you don't want a larger quilt to take forever with lots of little squares, simply increase the starting size to 10 or even 12 inch squares. (Really, any size will work.) If you don't like doing a lot of math, I recommend picking a size that is easy to divide by 2 and 3--such as 6 inches or 12 inches. I didn't do this and it led to some really funky measurements, so just make it easy on yourself!
Tools you will need:
rotary cutter
cutting mat
quilting ruler (I have 3 rulers I use for all my quilting: 4x14, 6.5x24, 15x15)
sewing machine (well, you could hand sew if you really wanted to)
For fabrics, choose a variety of coordinating prints that are at least as big as your intended square size and at least one coordinating solid fabric for the alternating squares. (I chose white as that went with the particular prints I was using, but feel free to bring in another color. I tend to like contrast, but you could certainly go for something more subtle.) The greater the variety of prints, the more scrappy your quilt will look. You could also have a variety of solids for a really scrappy quilt!
Fabric Prep: I prefer to prewash my fabrics to remove the factory sizing and to make sure there is no unexpected shrinkage or bleeding. This is really more of a concern if you work with vintage fabrics than with modern good quality fabrics which don't tend to bleed dyes. I also press all fabric to be used. It really will make a difference in the accuracy of your cutting and the squared-ness of your blocks. Wrinkled or unpressed fabric can lead to squares that aren't, well, square.
Next, carefully cut your starter squares. You will need one solid square for each print square. The doll quilt shown above uses 18 print and 18 solid squares.
Now to begin the cutting. Take one print and one solid and layer them, right sides up, one on top of the other. (I like to put all my pairs together at the beginning--the more you make the process like an assembly line, the faster it goes!) Your first cut will be to cut vertically straight up the middle of the blocks. (Measure the width, or across the square from left to right, divide by 2. Whatever you get after dividing, use as the measurement to measure from the left towards the center and cut.) You should have two equal sections like this:
Slide the left half to the side so that you don't have it in the way. Next, take the right half and make two cuts so that you have three equal pieces. To do this, measure the length (from top to bottom) and divide by three. Cut each piece horizontally using this measurement. You should have three pieces on the right like this:
There is one final cut to make. Take the middle section from the right column and cut vertically once. Whatever the length is, use for the width--you are cutting a square! Your block should now look like this:
Now separate your layer of print from your layer of solid. You should have two block sets that look like this:
Now, take the center square from the print and the center square from the solid and swap them! Easy peasy!
Cut all your sets this way. Part 2 will cover sewing the blocks. Have fun and feel free to ask any questions!


No comments:
Post a Comment