I'm catching up quick with blog posts and bee blocks. Here's a look at the Bee White Black projects for October and November.
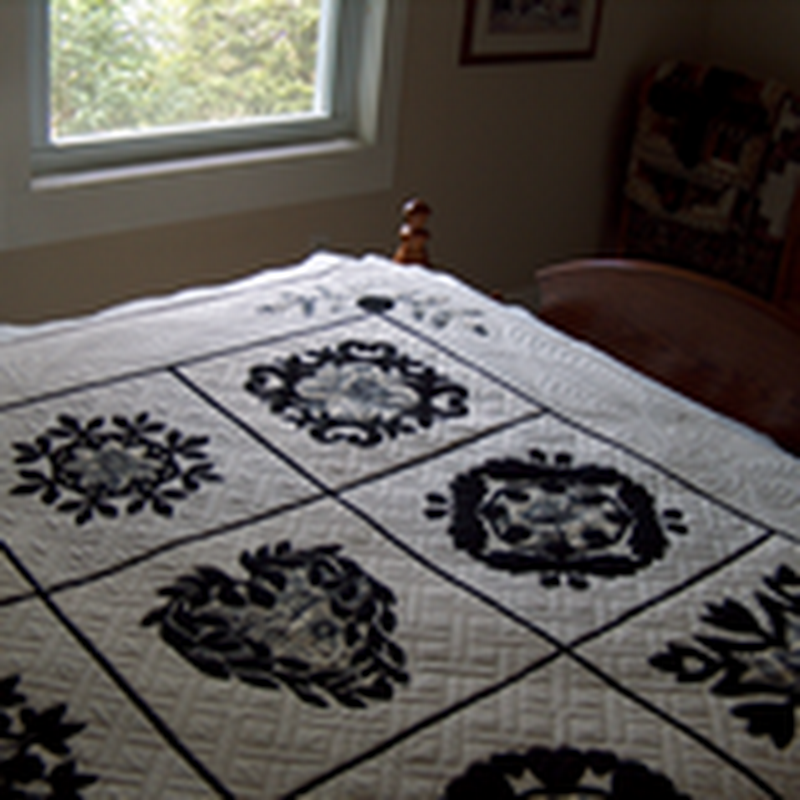
For October, we were requested to make a block with hearts or flowers using the colored fabric and the black and white fabrics for the rest. I went through like a bajillion ideas (anyone else that way?) before I settled on this block which I love.
Isn't it pretty? I love that the hearts make a flower. I first saw this pattern at the Heart Circle Quilter's Retreat webpage. Do go look and see their stunning quilt using this block. All I can say is "WOW!" The pattern comes from a book called The Signature Quilt: Traditions, Techniques and The Signature Block Collection by Pepper Cory & Susan McKelvey. Something for the Christmas wishlist perhaps?
I did a simple nine-patch piecing for the back with the center square being a square on point. You can't really see that the center has different corners than its middle, which was fine. I really did that because there wasn't a piece quite big enough for that last center block. But, hey, that's what being a quilter is about, right? Creativity and making do with what you have on hand! The hearts and leaves are appliqued using some Steam-A-Seam Lite and a zig-zag stitch (sadly, no fancy blanket stitch on my machine). I really like how this one turned out--and so did the recipient who told me it was one of her favorites! (Doesn't that just make you feel good when someone says that?!)
November's bee member didn't want a block, she wanted lots of little blocks. She's making a quilt for her daughter (lucky kid) involving a Sawtooth pattern--which means LOTS of half-square triangle sets. Wisely, she decided to preserve her sanity by splitting up the job amongst her helpful bee group. Each of us only needed to make 36 blocks.
She gave great instructions too. Take two 3-inch squares, one light and one dark. Put them right sides together. On the lighter one, draw a line with pencil diagonally from corner to corner. Sew a scant 1/4 inch seam on each side of the line. Cut on the line. Press open. (She also opted for the seams to be pressed open as well.) Trim to 2.5 inches. Doing this 18 times gives you the 36 squares.
You're probably wondering why my pile of squares looks bigger than 36, that's because there are more. I was filling in for one of our sweet members who's recovering from surgery this month, so I did enough for two. Plus, there was enough extra for 12 more sets, so I did them as well. (In my mind I was just thinking, "oh, its only 12 more", in reality, that makes 24 more squares, oops! I'm blaming my math on the Benadryl that I had taken for my cold. LOL I really didn't mind though.) In all, I made 96 squares, which I'm sure she will be happy to have. If you chain piece, and assembly line the tasks of cutting and pressing, it's not so bad, but I definitely think she was smart to divide it up--a whole quilt might be a little much all at once! I can't wait to see the whole thing put together though!
Wednesday, November 17, 2010
Subscribe to:
Post Comments (Atom)


No comments:
Post a Comment